Spark Notes Step Overview:
1. Sand
2. Remove Caulk
3. Clean
4. Mix Paint
5. Paint
6. Evacuate
7. Paint 3rd Coat
8. Stare in awe at your new bathroom
Spark Notes Step Overview:
1. Sand
2. Remove Caulk
3. Clean
4. Mix Paint
5. Paint
6. Evacuate
7. Paint 3rd Coat
8. Stare in awe at your new bathroom
Spark Notes Step Overview:
1. Sand
2. Remove Caulk
3. Clean
4. Mix Paint
5. Paint
6. Evacuate
7. Paint 3rd Coat
8. Stare in awe at your new bathroom
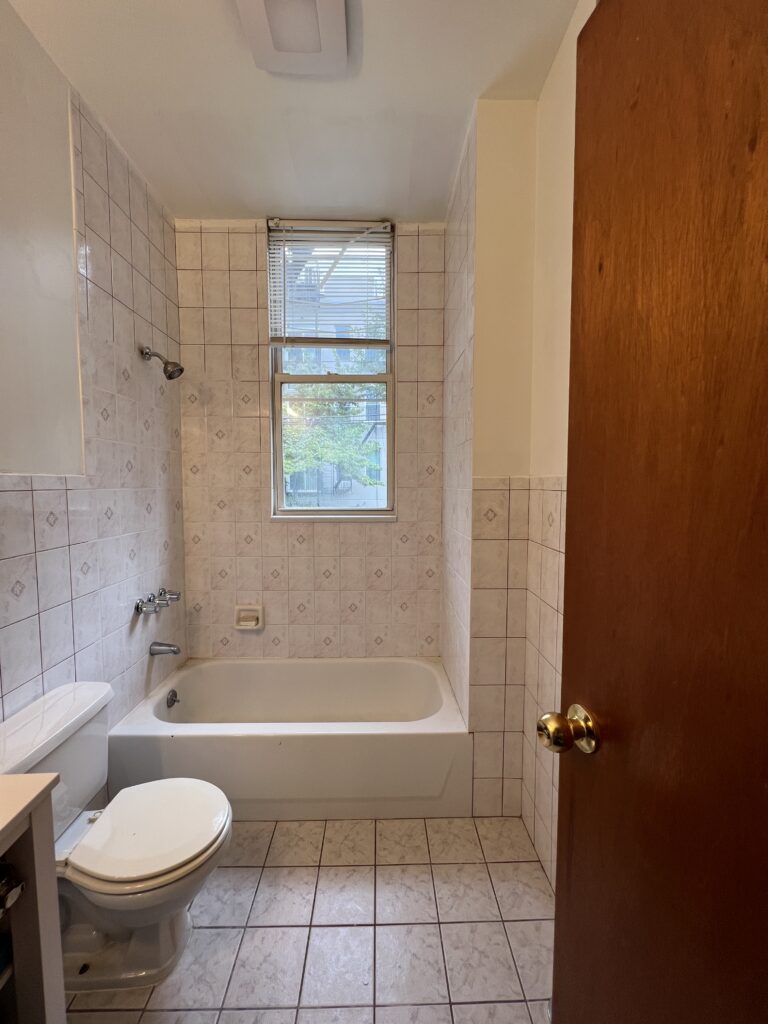
The bathroom hadn’t been updated in over 20 years and I can confirm it did not age gracefully. The second we laid eyes on this bathroom, we knew it needed a facelift, however facelift wasn’t in the budget so we settled for a makeover. I always find it so satisfying how a little paint can transform a room.
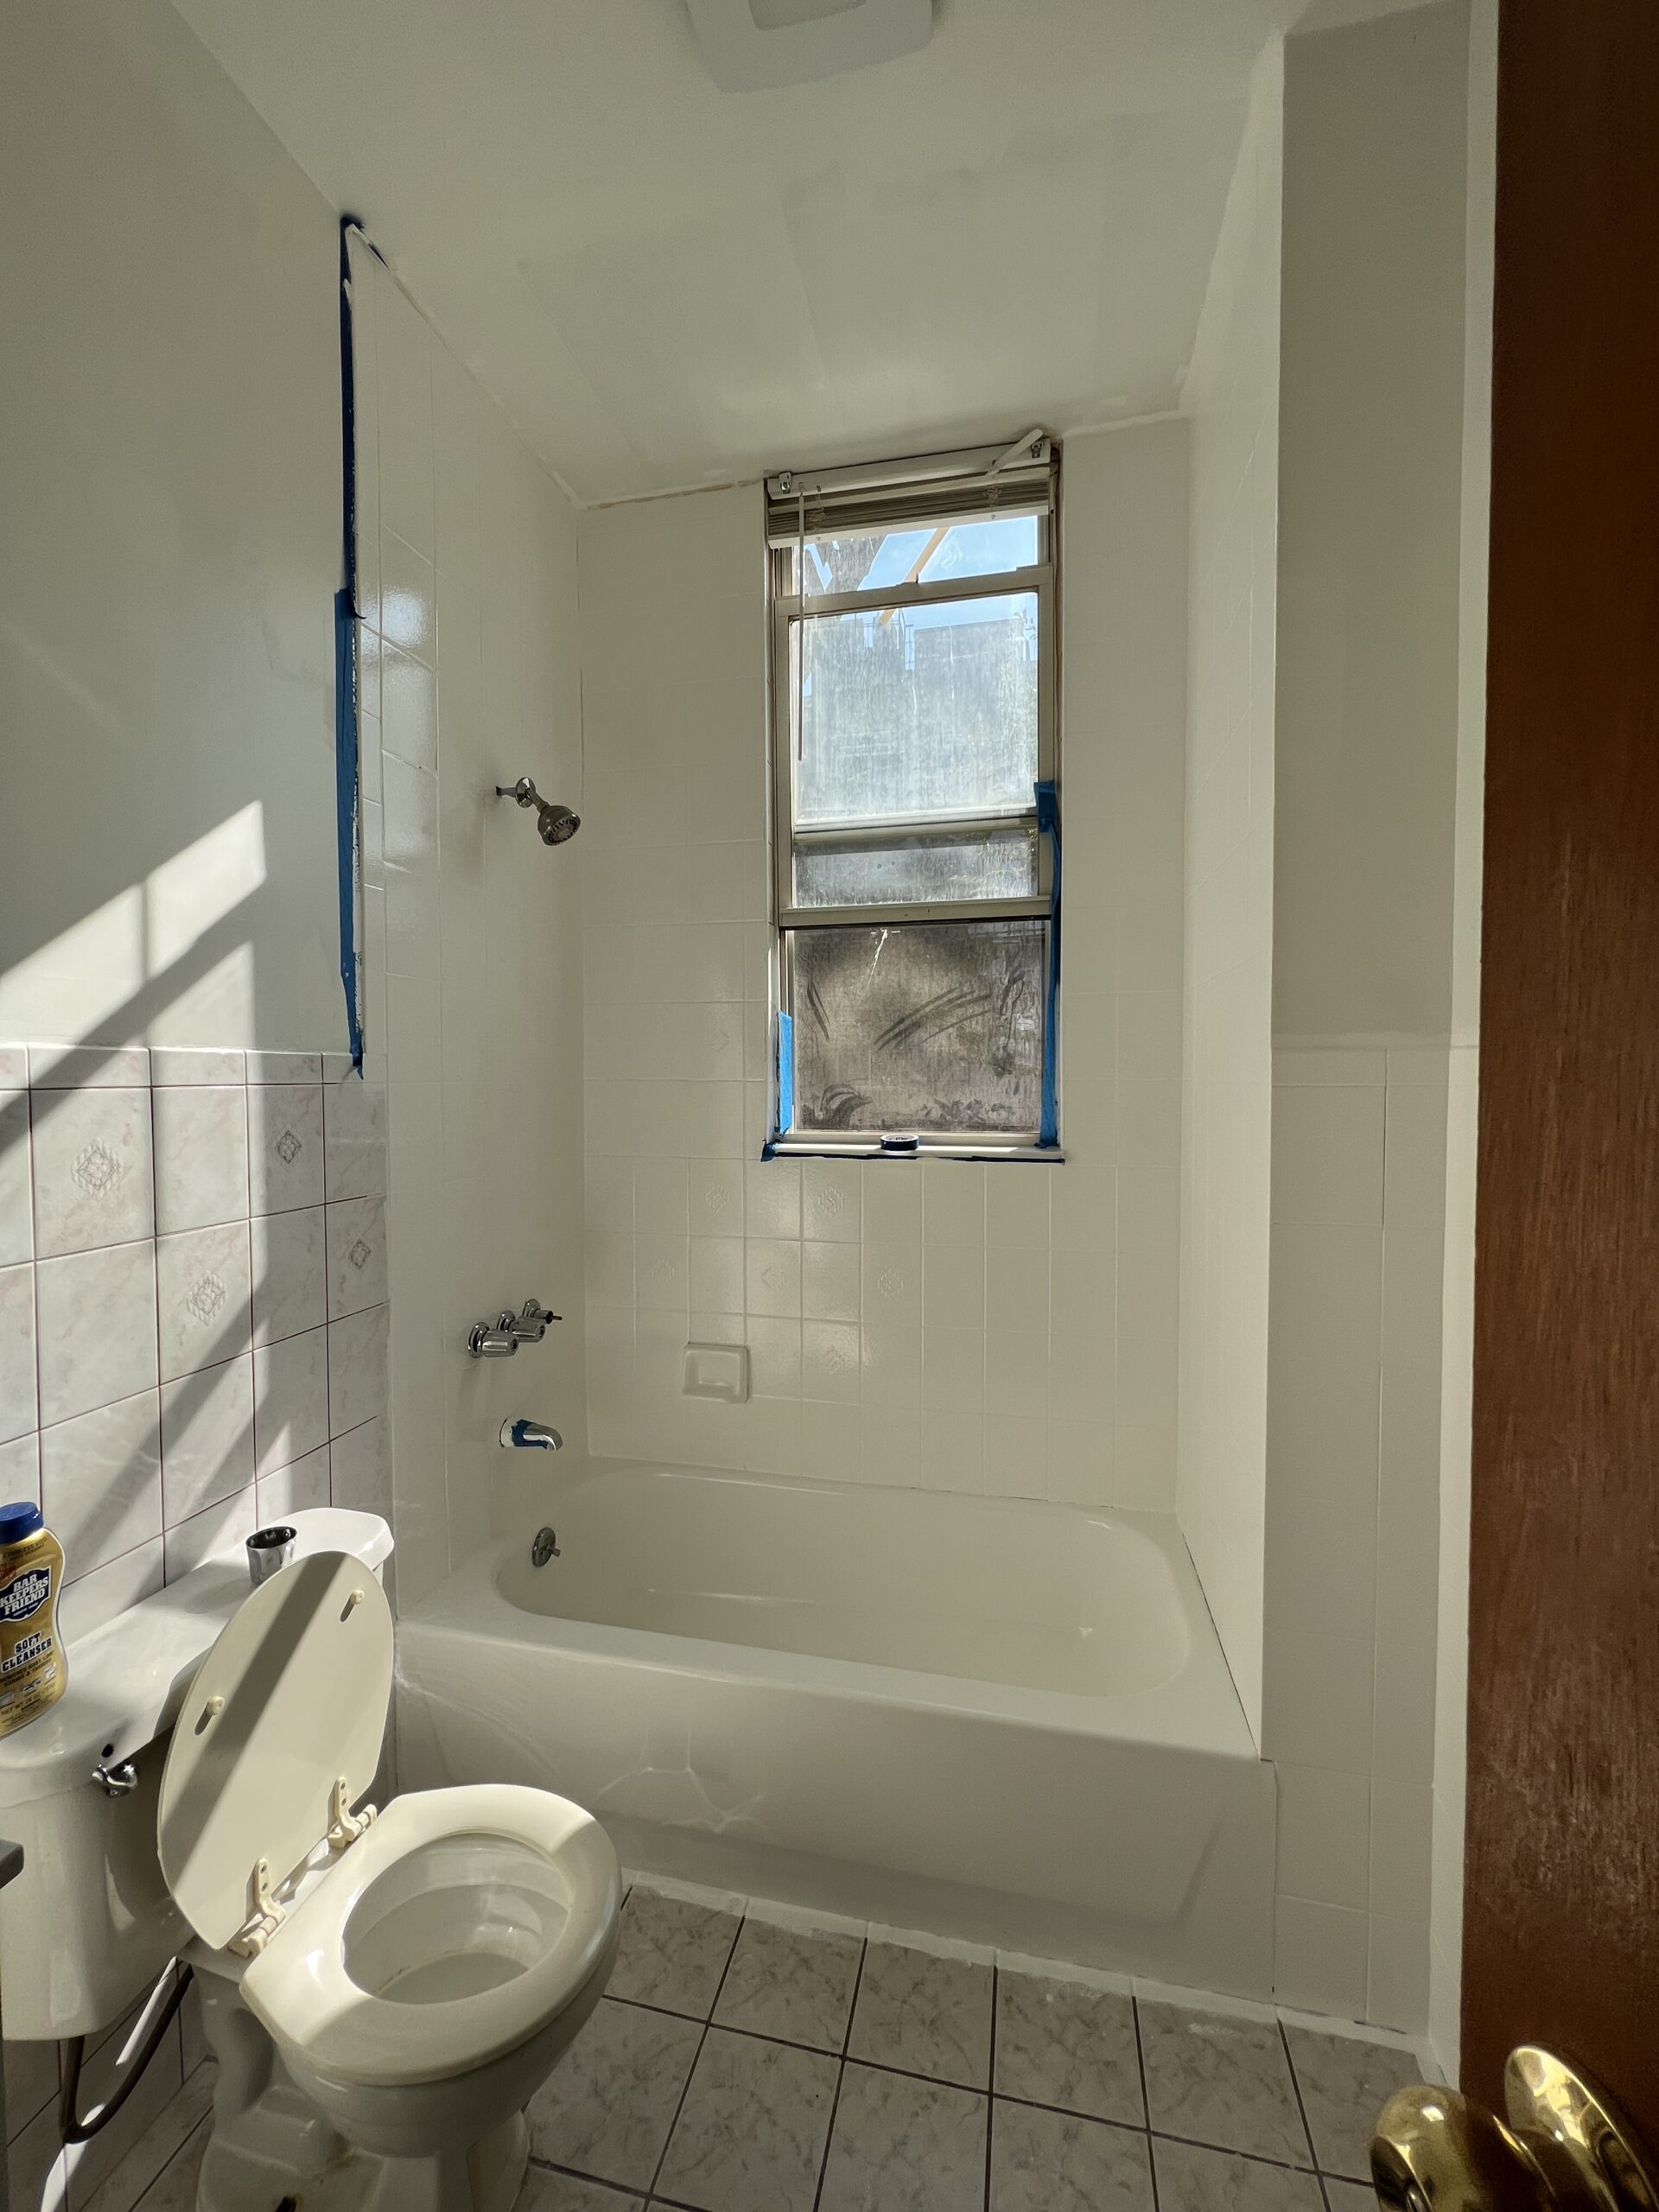
With all the supply and demand issues happening at the moment, it took forever to track down the Rustoleum Tub & Tile kit in white. This specific brand was sold out everywhere, but one day four cans popped up on Amazon and I purchased immediately. I was so nervous to actually commit to painting the tile, the cans sat in the basement for about 2 months. I just kept thinking what if it went horribly wrong… then we would forces to give the bathroom a facelift. One day I woke up and decided that today is the day I am going for it. My plan was to have us shower at the gym the rest of the week while the tiles dry and cure — man was I dreaming. The fumes were so aggressive it forced us to temporarily move into Paul’s parents for the week.
Ok…
Let’s start with the scent — WOW!!! The reviews and videos online make it sound like it smells bad, wear a mask… BUT, what they really should say is the smell could clear out an entire apartment floor, your clothes might smell like chemicals for at least a week and your eyes may potentially burn from the fumes. In addition to a mask, use every fan and open every door and window you can. If I had THAT warning, I would have been better prepared for the adventure I was about to embark on. Call me dramatic, but it’s the truth the fumes were no joke and I feel that I need to call it out. With all that being said, would I do it again? YES. The end result was 100% worth it.
Join the list
Thank You! Please check your email.